
Documenting and Visualising Heritage with the Antigravity A1 + Gaussian Splatting
Testing some of the latest 360° > gaussian splat pipelines...

I previously wrote about the recently announced Project ETERNAL initiative and community challenge and as promised in that article, I am here to give you an idea of what a couple of 360° to 3D Gaussian Splatting (3DGS) workflows works like.
For the purposes of this case study, Antigravity has provided me with one A1 drone and one Insta360 X5 and Splatica.com provided me with 2000 processing credits.
Bonus: As a glimpse into a second workflow, MipMap also processed my 360° video data on my behalf. Huge thanks to the Insta360 Enterprise Team for facilitating this part of the collaboration.

At this point it is also worth noting that I am a complete drone and 360 newbie: I’ve never owned either a drone or 360 camera before, so what I’m sharing here are the results of my very first forays into both 360° media capture and drone operation. At the time of writing I’ve had the drone for just a couple of weeks.
I hope you’ll agree that the results are still good and speak to the impressive tech I have had the pleasure of taking for a test run. I was able to capture a number of historic landmarks and process each of them into gaussian splats with minimal input in a very short space of time. I look forward to improving my process with practice…
Workflow
Typically, creating gaussian splats from 360 video entails a few steps:
Capture the 360 video.
Select the best video frames and export as images.
Mask images (to remove/ignore .e.g. camera operator).
Align images via Structure from Motion.
Generate a point cloud, export.
Import images, alignment, point cloud and train gaussian splat.
In this case study, however, I will be using the following 2-step workflow, simplified by the integrations between Antigravity/Insta360 and Splatica:
Capture the 360 video.
Upload to Splatica for processing.
Capturing the 360 Video
To begin I reviewed the UK Civil Aviation Getting started with drones and model aircraft guidance, and completed the necessary theory test. The Antigravity A1 weighs only 249g, placing it in the UK0/C0 class, and the Open A1 subcategory. Check with your local aviation regulator for advice on local laws and regulations.
Having made these initial preparations, I powered up the A1 and began getting to know the drone, headset, and controller. The A1 is a little different from most other drones currently on the market:
The A1’s camera can see and capture 360°, stitching views from two fixed direction (up and down) 180° cameras.
It is a ‘first person view’ drone, meaning you put on some goggles during operation which transports your visual perspective to that of the drone.
Movement of the drone is conducted using single-handed controller with both physical buttons and, more crucially, motion controls.
All in all, I found it very intuitive to fly the A1, especially in FPV mode and once my brain and muscles had memorised button positions and menu shortcuts. I also found the built in videogame style VR training useful in setting up the headset optics and understanding the different control styles.
In no time I was up and flying the drone both indoors and outdoors of my home and ready to get out there and capture some footage…
👨🏫 Antigravity also have a great beginner's guide to using the A1.
I planned to capture video at a couple of local heritage sites:
The Iron Age Roundhouse Reconstruction at Hengistbury Head.
Long-time readers will remember my previous posts featuring this site
Christchurch Castle & Constable’s House.
I was very lucky with the weather during my planned capture days, with the weather being clear and not too windy (always check before you fly)…
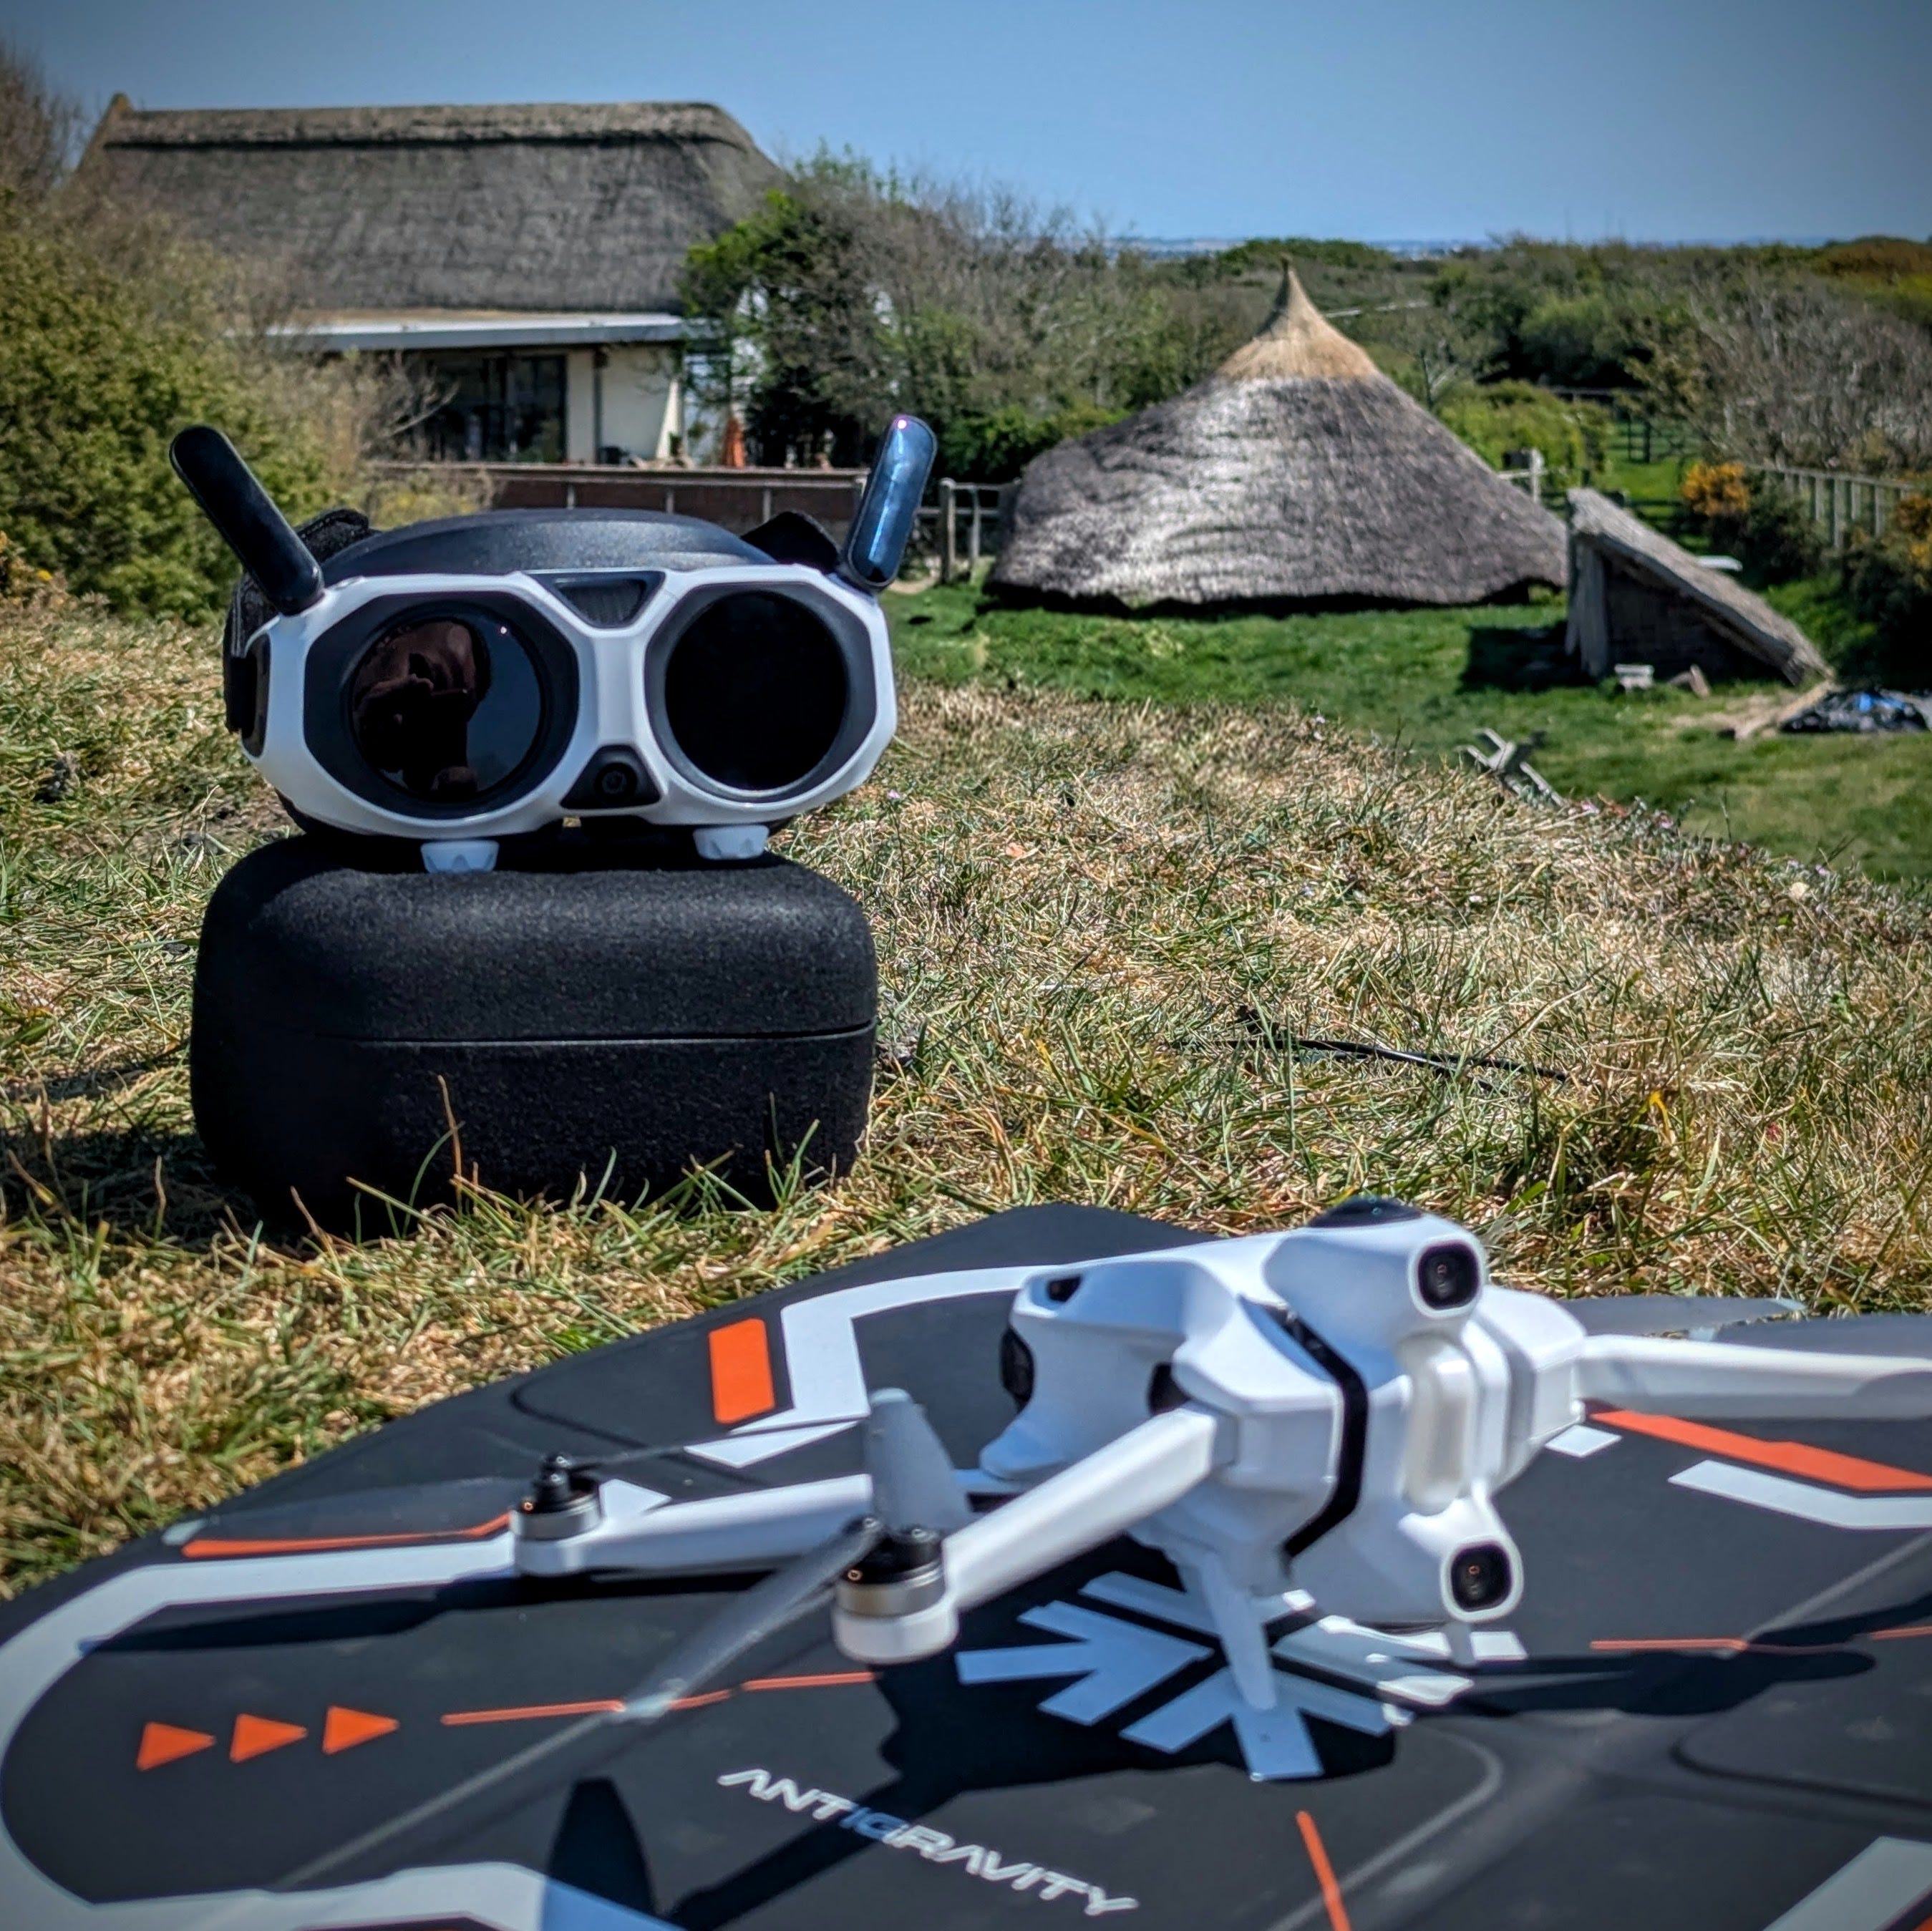
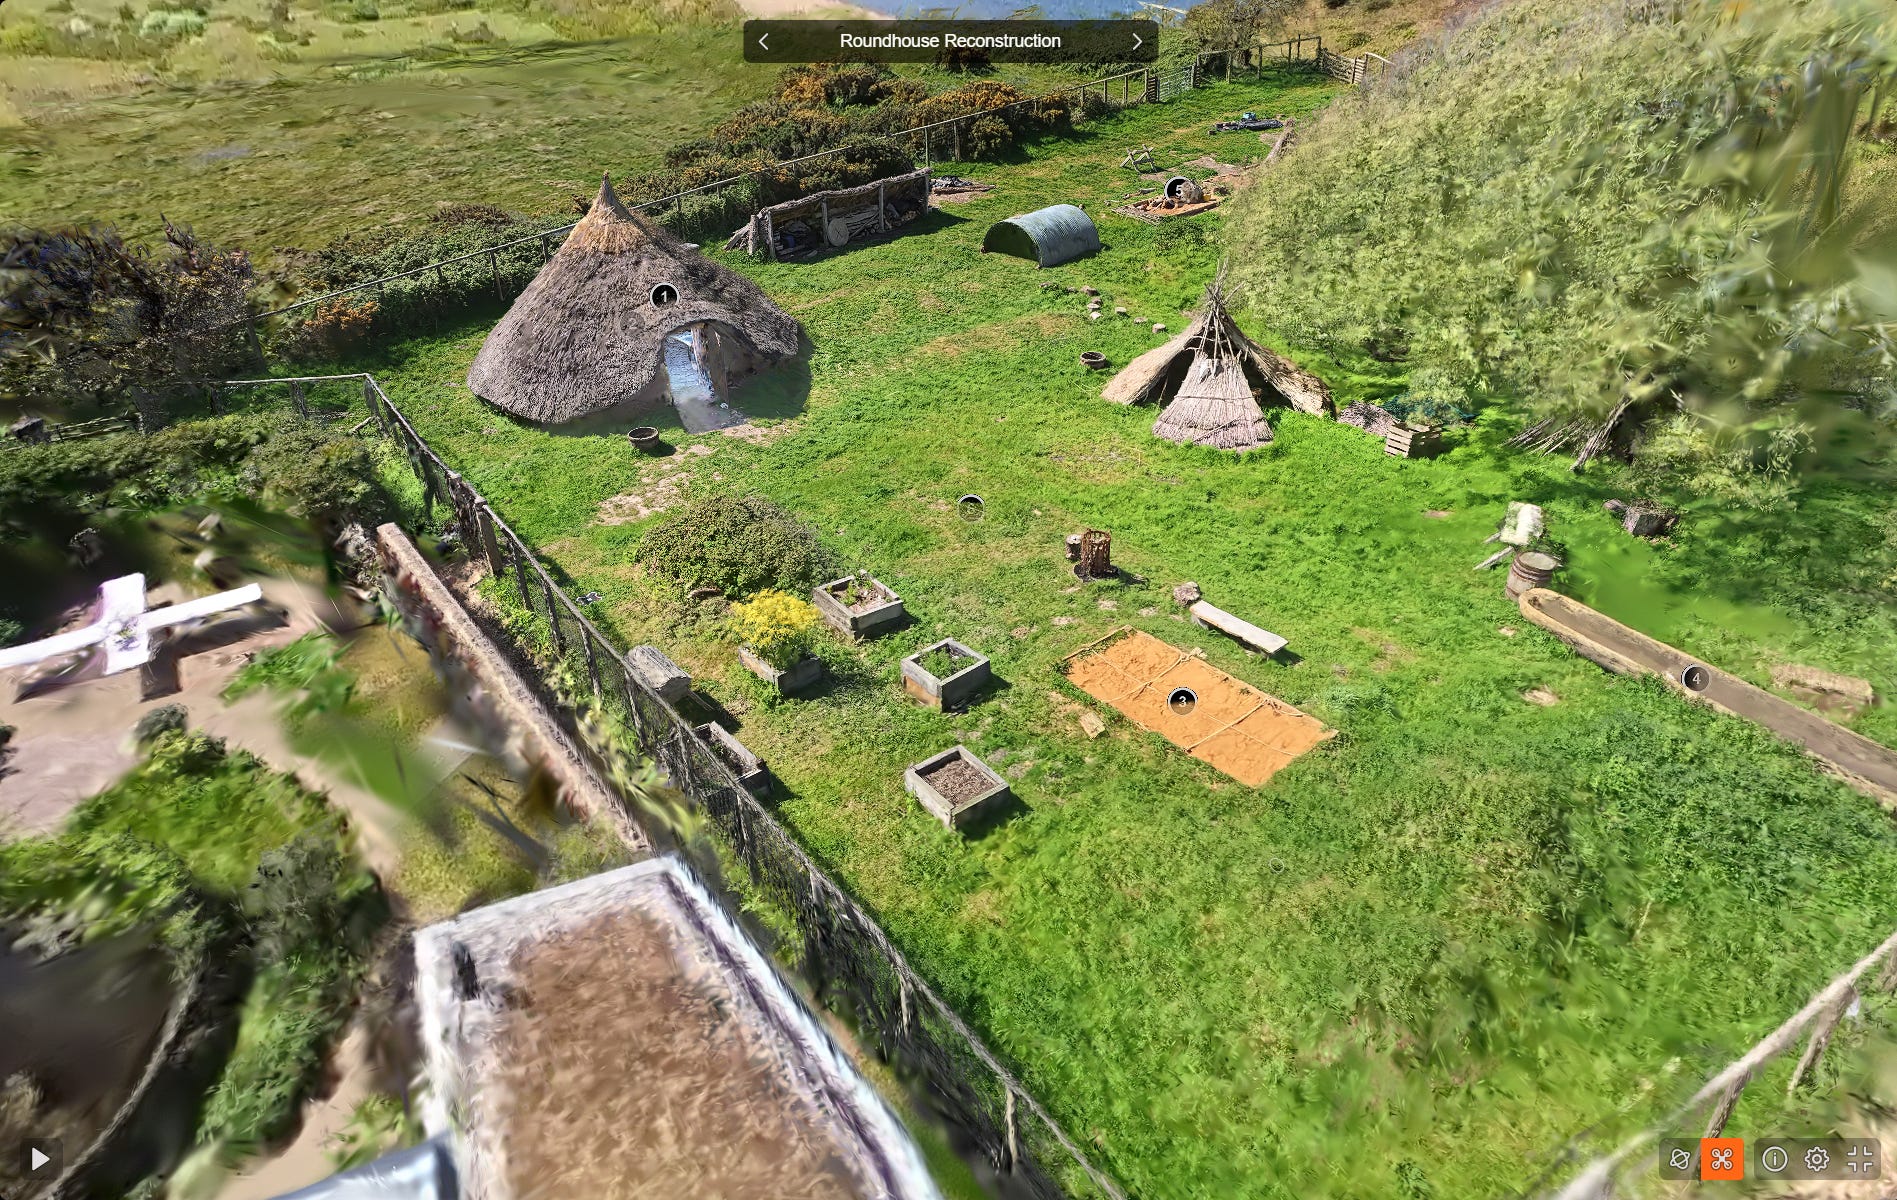
The Iron Age Roundhouse Reconstruction at Hengistbury Head
My first proper flight was at Hengistbury Head Education Center and I flew the A1 for just over 9 minutes to capture what I felt was enough footage for processing. I later learned that this is a sub-optimal video length for my purposes (see the ‘Recently added’ callout below for more info on this). A good reminder to always RTFM (read the flippin’ manual!).
I mostly flew above and around the compound to capture the whole site, but the drone is so small that I was even able to fly under the tree canopy and into the roundhouse reconstruction itself, too:
You can enjoy the unedited 4k footage here.
I also conducted a second, handheld capture of the roundhouse interior using the X5 mounted on a monopod arm:
Christchurch Castle & the Constable’s House
Emboldened by the ease of my experience the previous day, I set out the next day to capture two more local historic sites that are in close proximity to one another: Christchurch Castle & Constable’s House.
Respectively, I captured an 8 minute and 5 minute video of these open air ruins:
You can enjoy the unedited 360 footage on youtube:
Splatica
Splatica.com is an AI-powered platform that automatically converts 360-degree video, specifically from Insta360 cameras, into photorealistic 3D Gaussian Splatting (3DGS) environments and digital twins.
Both the A1 and X5 capture 360 video in a proprietary .insv file format which can be uploaded directly to splatica.com. For use in other workflows, the .insv format can be easily converted and exported to other formats [e.g. H.264/H.265 encoded MP4] using the free Antigravity Studio or Insta360 Studio.
Splatica now offers recommended guidelines for capturing footage with your 360 device, plus a video version to help ensure better results.
I was in such a rush to get out there and use my new tech I missed out on this advice before shooting my footage 😅.
I reeeally recommend you check out the links above before you capture your footage as there are a few essential points that I wish I had known before flying my A1.
The upload and processing flow is very simple:
Sign up and log in to Splatica.
Click/tap “+ Upload 360 Video”.
Specify the Antigravity or Insta360 device that you used to capture your video.
Select your footage.
Give your project a name.
At this stage you will also be informed how many points will be used in processing your video into 3D.
…and that’s it! Splatica will now process your footage into 3D in the cloud:


In my experience, processing the 9 minute video of Hengistbury Head took a couple of days before it was ready as a 3DGS, with the acknowledgement that my flight path was entirely unplanned and included a lot of redundant passes over the same area.
“We recommend uploading a video shorter than 5 minutes. Longer uploads may be less reliable, so please continue at your own risk.” - splatica.com
The shorter videos from Christchurch Castle and the Constable’s House were ready to view and download as 3DGSs in around 24 hours.
A few things I like about using Splatica:
Suuuper simple process to go from 360 footage to online splat.
Automated operator removal from Insta360 X5 footage.
Camera path visualisation.
SD/HD options for 3DGS in the Splatica online viewer.
Using the 2000 free processing credits I was given for this case study, I was able to process 10 videos (including a couple of failed projects) with just under a two hundred credits left unused. For context, at the time of writing Splatica’s “Basic” monthly plan offers 300 points which covers ~1 scene or a 5-minute video, and costs $34.95 / first 2 months, $49.95 / month after.
A few things I’d love to see in future updates to Splatica:
More transparency on the processing steps e.g. in a metadata log alongside the output 3D.
Tweakable parameters before splat generation e.g. target or maximum number of splats;
Multiple outputs:
SD / HD splat download options.
Pre-prepared file formats options e.g. .SPZ, .SOG.
Meshes and plain point export.
More detailed error reports for failed processing.
It was also a little unclear whether processing credits assigned to failed projects are used up or added back to your balance.
Bonus: MipMap
The teams at Antigravity and Insta360 Enterprise were kind enough to organise a second collaboration as part of this case study, with MipMap. MipMap processed the data on my behalf, so I am unable to describe the software and process in detail; a video overview of the 360 footage to 3DGS processing in MipMap is shared below.
MipMap is a desktop software that natively supports .insv files, which means you can drop in 360 videos straight from your Antigravity A1 or Insta360 camera to create gaussian splats and photogrammetry reconstructions.
You can also mix and match footage from devices in the same project so you can throw your Antigravity A1 drone footage, ground-level Insta360 footage, and even everyday smartphone photos all into a single project.
The software blends them all together to create one detailed 3D Gaussian Splat environment:
3D Outputs
Here are visual previews of and link to the outputs of my initial test capture sessions with the A1, X5, Splatica, and MipMap.
Christchurch Castle (Antigravity A1 + Splatica)

Explore this splat in 3D on:
Constable’s House (Antigravity A1 + Splatica)
Explore this splat in 3D on:
Bonus: The .PLY download from Splatica also work as a regular point clouds:
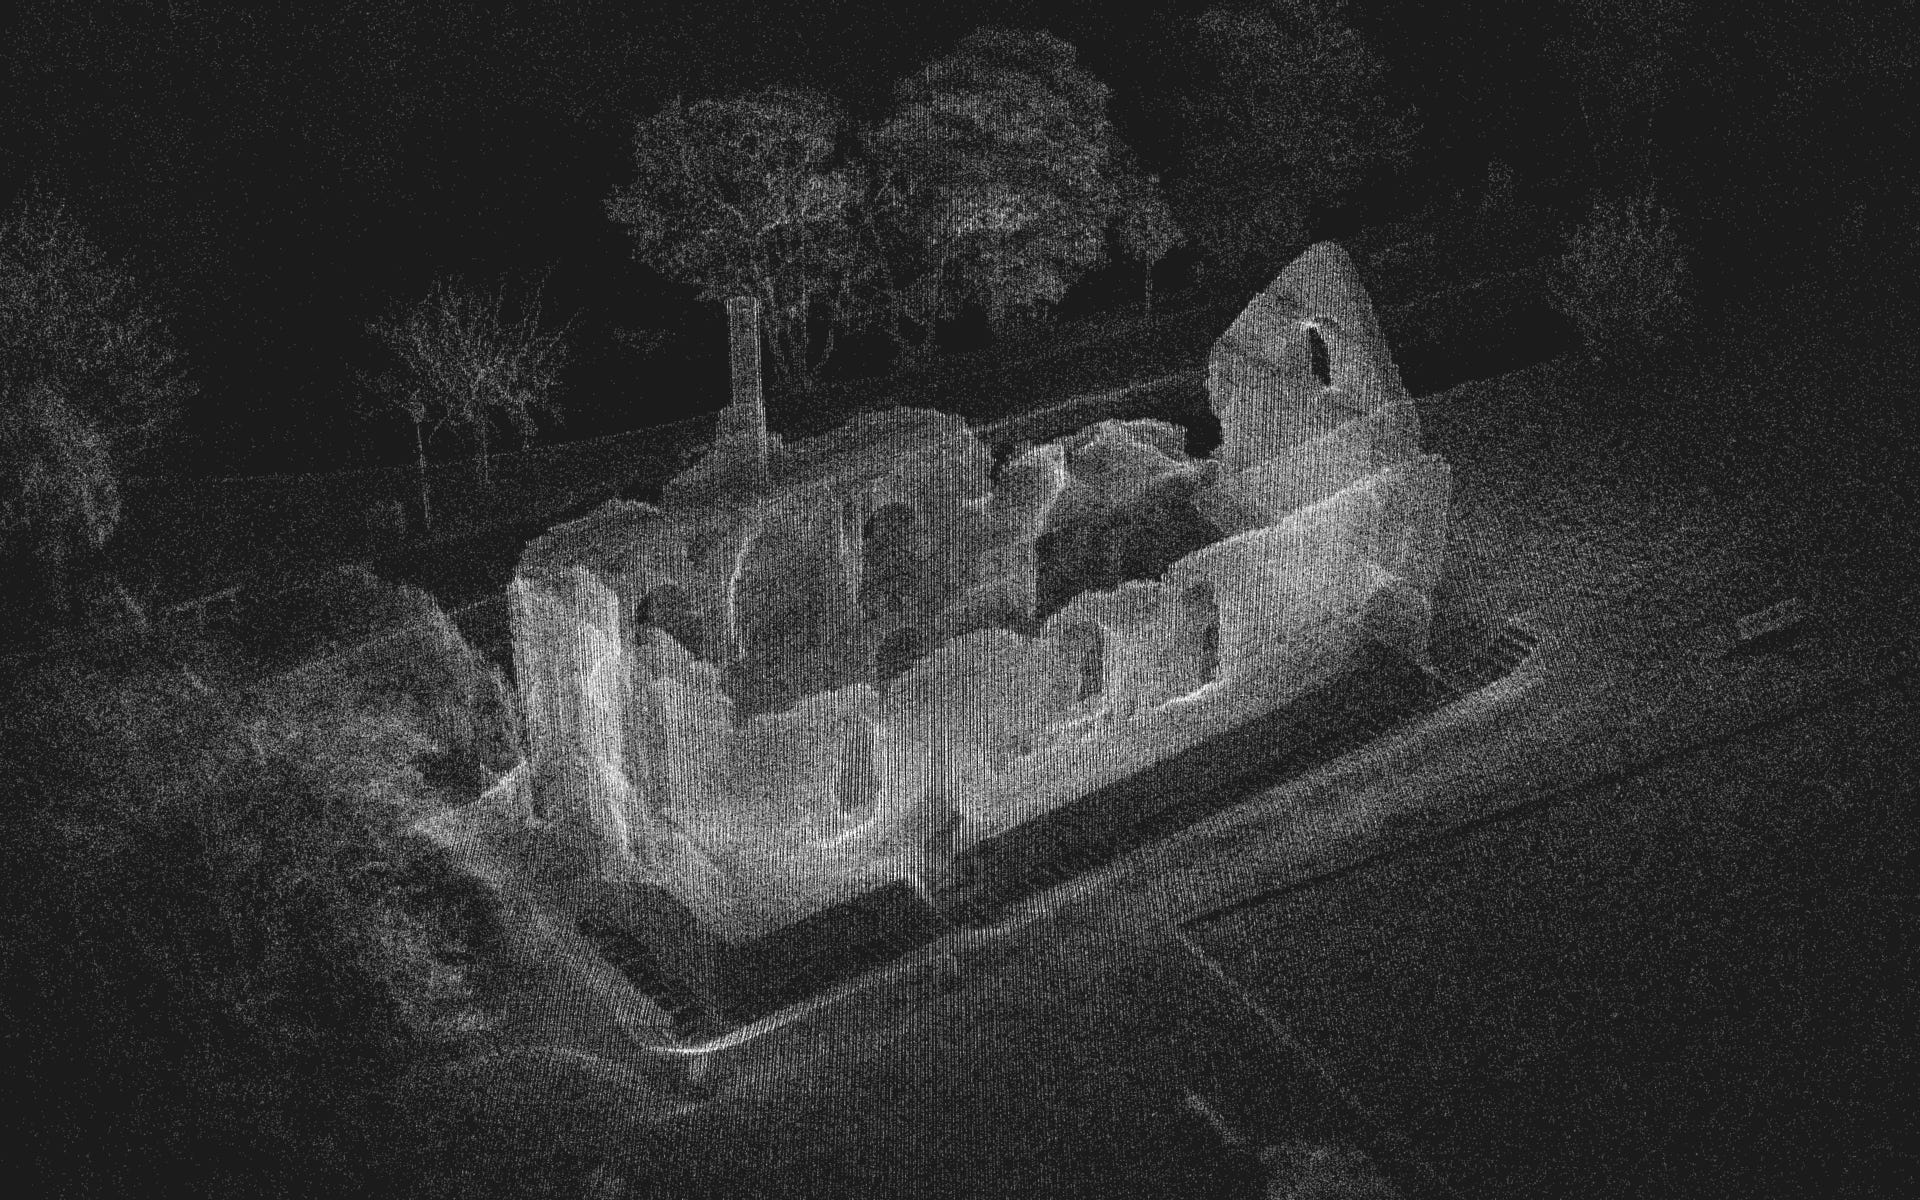
Constable’s House point cloud on Sketchfab.
Christchurch Castle point cloud on Sketchfab.
Hengistbury Head
Compound (Antigravity A1 + Splatica)
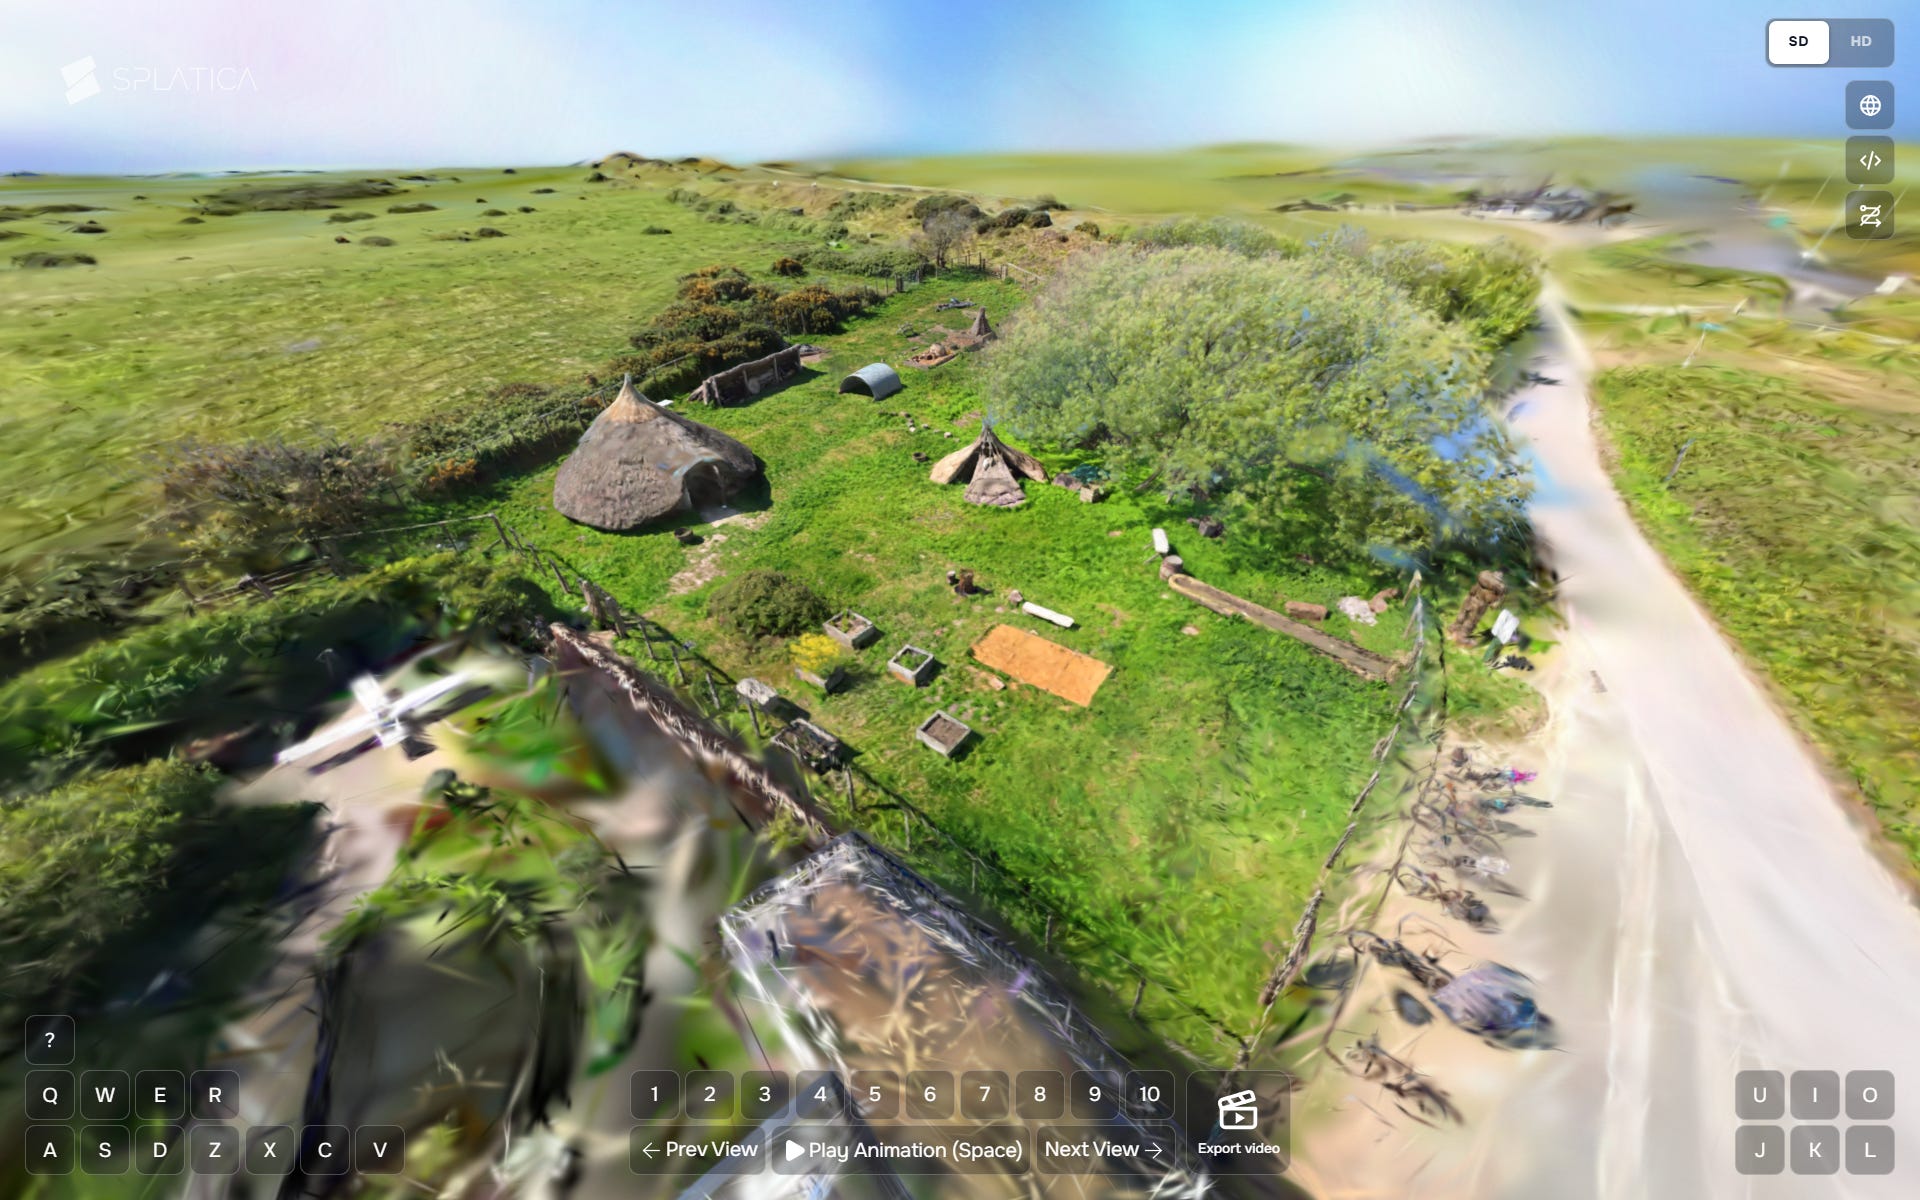
Explore this splat in 3D on:
Roundhouse Interior (Insta360 X5 + Splatica)
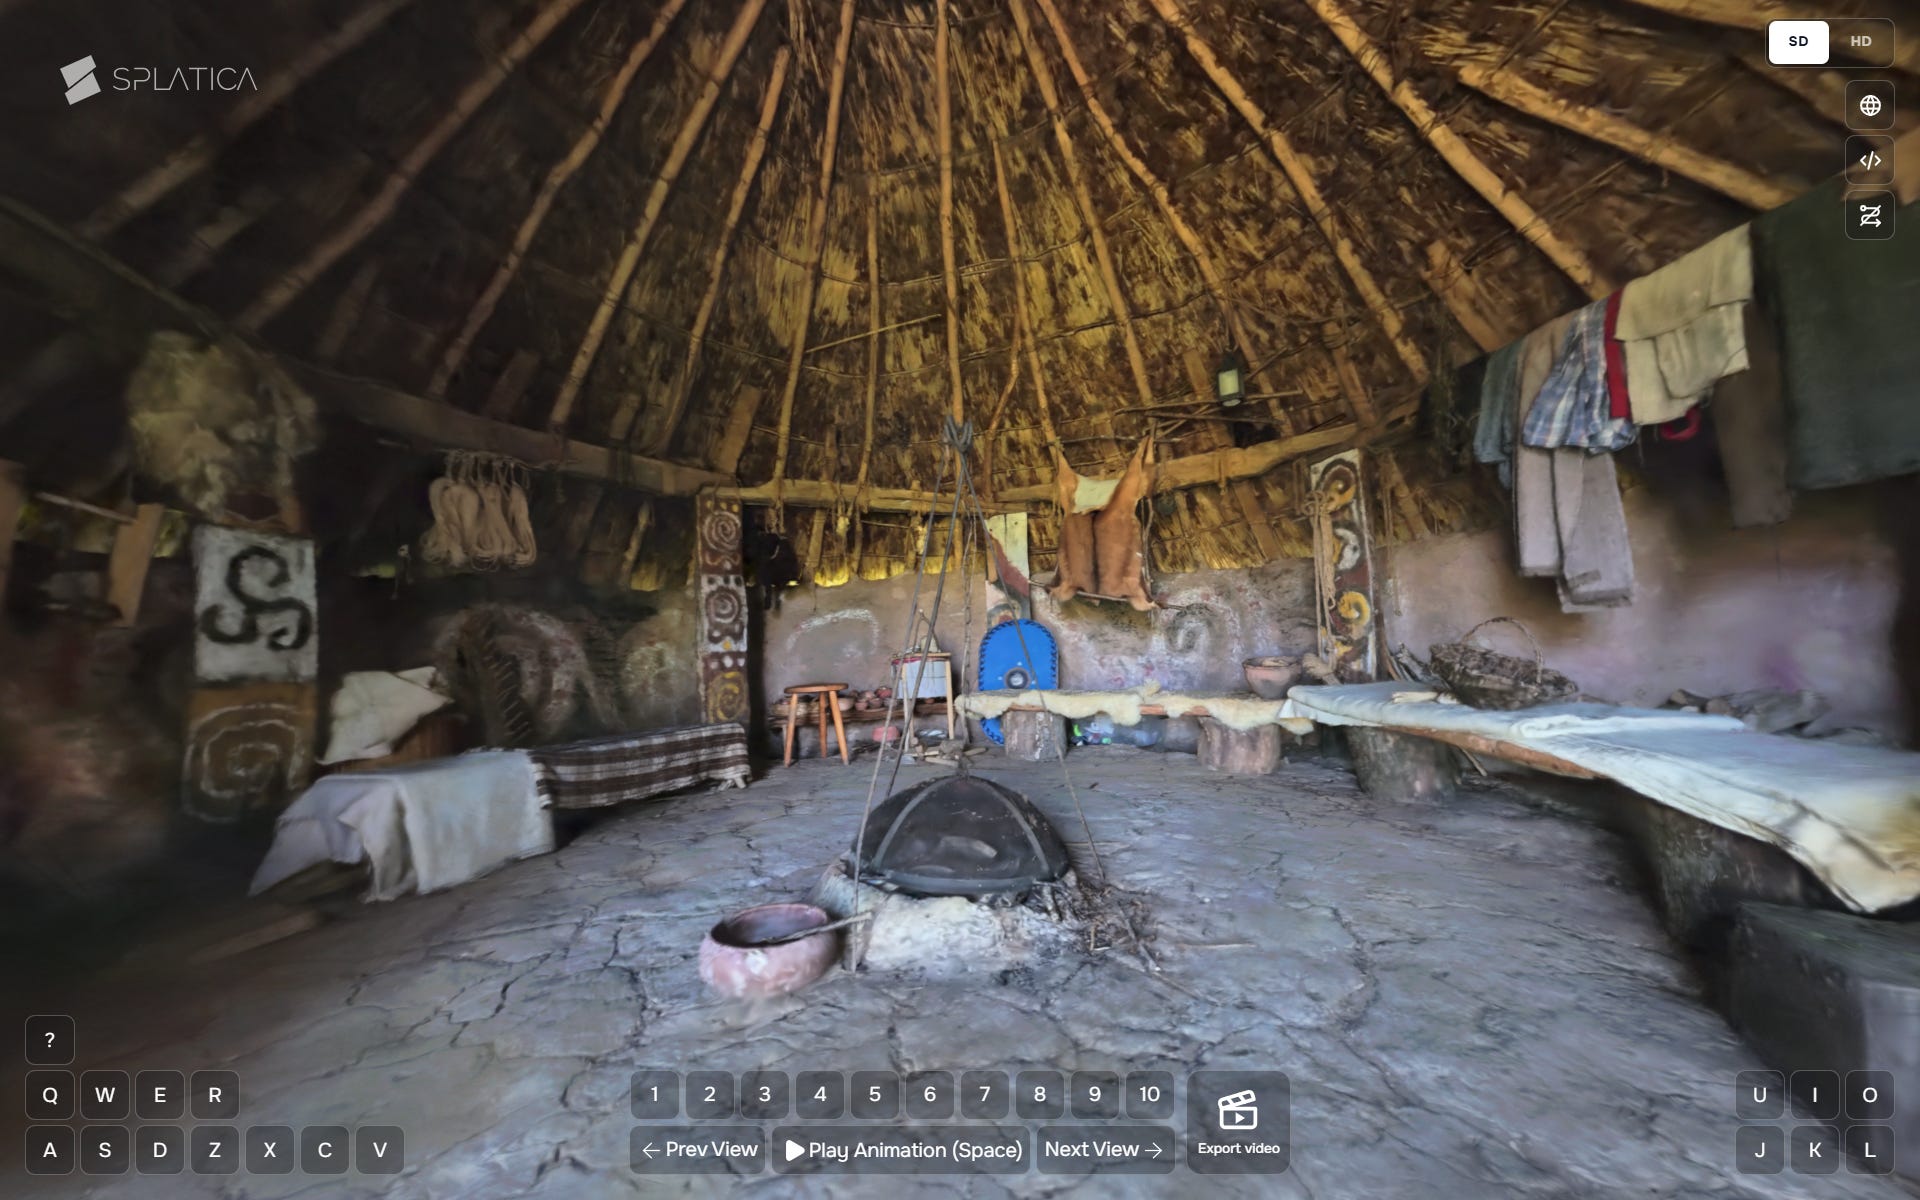
Explore this splat in 3D on:
Roundhouse Exterior + Interior
(Antigravity A1 + Insta360 X5 + MipMap)
Explore this splat in 3D on Supersplat.
Some Additional Captures:
New Forest (Insta360 X5 + Splatica)
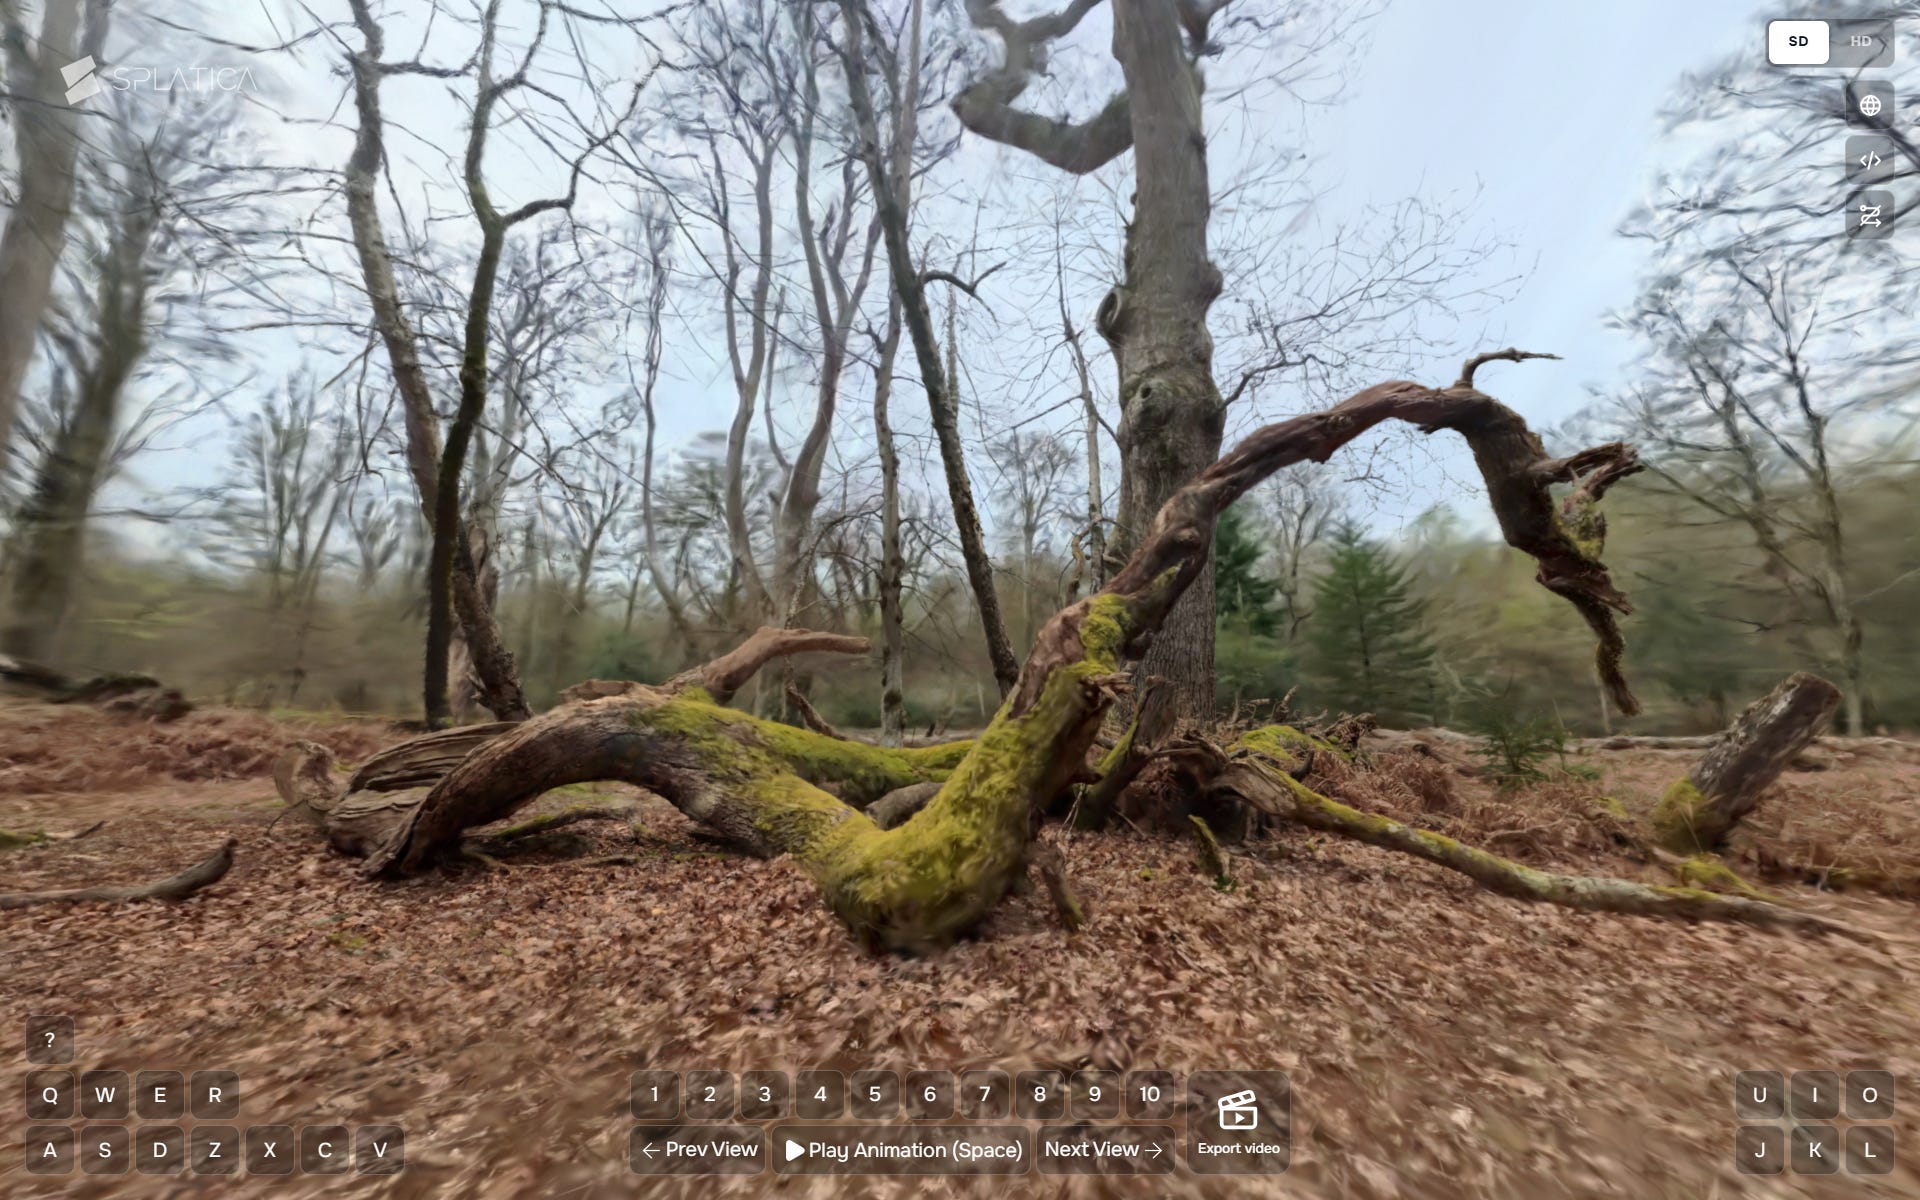
Explore this splat in 3D on:
An English Garden (Insta360 X5 + Splatica)
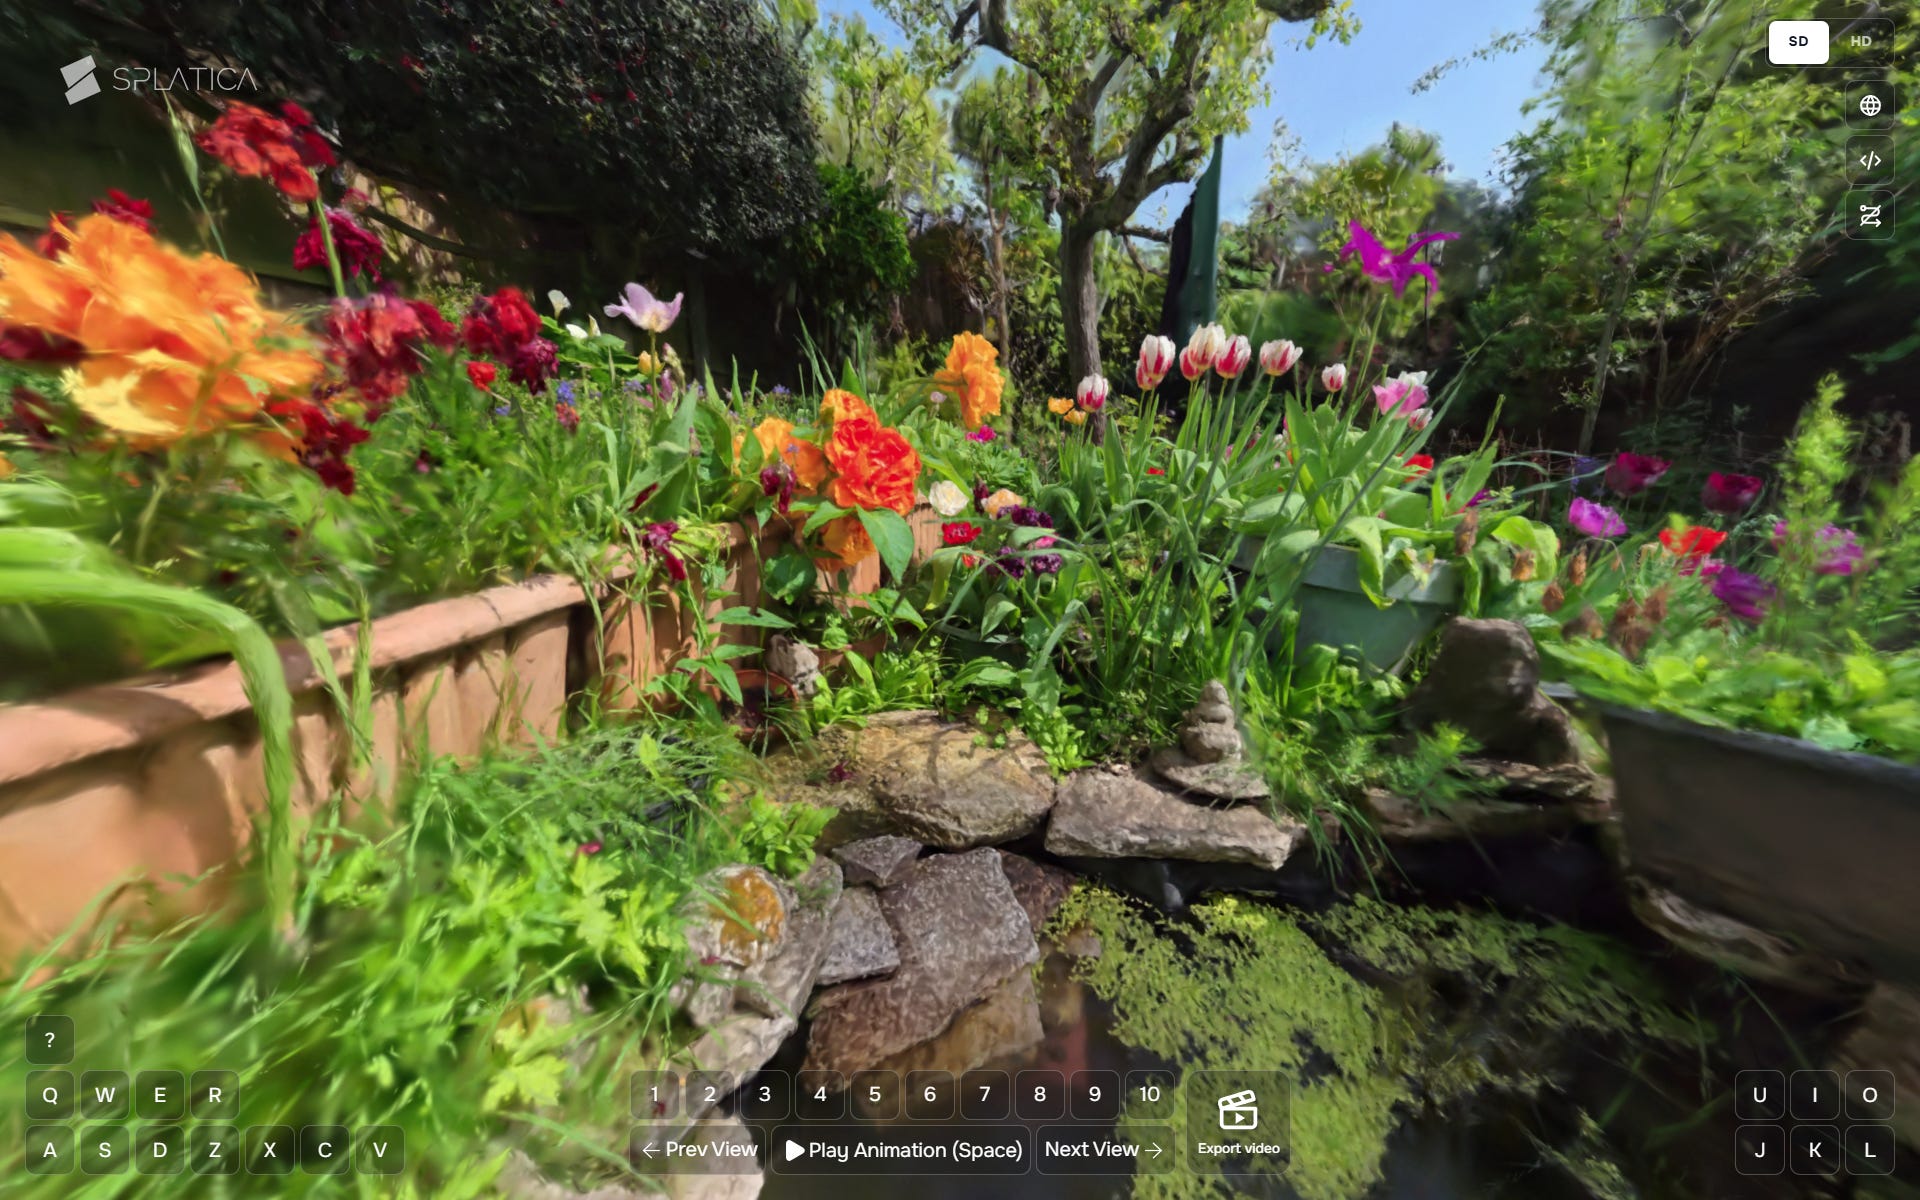
Explore this splat in 3D on:
Field Notes
The A1 is very easy to learn and intuitive to use drone, providing impressive results using out-of-the-box settings for video and still images. I feel like I have only scratched the surface and look forward to exploring the flight path editor, cinematic mode, and other features to improve my workflow and outputs.
Splatica takes all the pain out of converting 360 footage to gaussian splats and I look forward to seeing how that platform and tools develop in the future.
As mentioned earlier, I really recommend reviewing both Antigravity’s A1 quickstart guide and Splatica’s guides for capturing footage with both the A1 and X5.
Due to the high resolution, frame rates, and splat counts the whole process produces very large files, between 1 and 2 GB or so in my quick tests. Not terrible, but something to be aware of if you intend to create a lot of captures and backup all the data.
Considerations for Cultural Heritage
I hope you will agree that the 360° video to 3D Gaussian Splat workflow shows huge potential for the documentation and visualisation of cultural heritage subjects. I want to end this article with a few considerations specific to the cultural heritage (CH) context:
Metadata & Paradata: In the experiments documented in this article I am relying heavily on automated and sometimes closed technology to do the heavy lifting. Documenting all processes (capture conditions, planning and implementation decisions, device settings, workflow ‘carbon/energy cost’) and data (inputs, outputs, project files) will ensure these datasets are not just visual assets, but FAIR-compliant research data.
Data Preservation: As mentioned earlier in the article, the processes described produce very large volumes of data. Where this data is to be stored, for how long, and under what access, etc. are key considerations before undertaking such project. Additionally, identifying non-proprietary, ideally open, archival file formats for both 360° video and 3DGS and conversion pipelines should also be considered carefully prior to data generation.
Data Access: Equally as important are considerations around maintaining long term online access to interactive versions of the data produced. Currently there are many commercial and ‘free to use’ hosting sites available for publishing 3DGS, finding and developing self-hosted or CH sector-maintained platforms would provide a more reliable fallback should more popular 3rd party platforms disappear or update their feature sets and/or Terms of Use.
These are just a few considerations that I feel are some of the most important: how and why we deploy any technology in service of CH will always depend on specific subjects, goals, needs, audiences, and resources available.
What do you think? Will you be exploring 360° video and 3D Gaussian Splat workflows in your own work?
Thanks as always for your attention and getting all the way to the end of the article! :D